安装本blog项目代码
2025-06-07 15:16:37
##### 本blog项目基于webman-admin搭建
### 框架结构
- php8.3.21
- webman2.1
- webman-admin 2.0
- putyy/blog
#### 搭建流程
1、安装webman:
composer create-project workerman/webman:~2.02、安装webman-admin:
如果是webman是1.x版本执行 composer require -W webman/admin ~1.0

如果是webman是2.x版本执行 composer require -W webman/admin ~2.03、从https://github.com/putyy/blog?tab=readme-ov-file下载插件压缩包文件下载:https://github.com/putyy/blog?tab=readme-ov-file
4、在webman项目下的plugin文件夹里面新建pt_blog文件夹5、解压blog插件压缩包到pt_blog文件夹,文件夹最终效果示例如下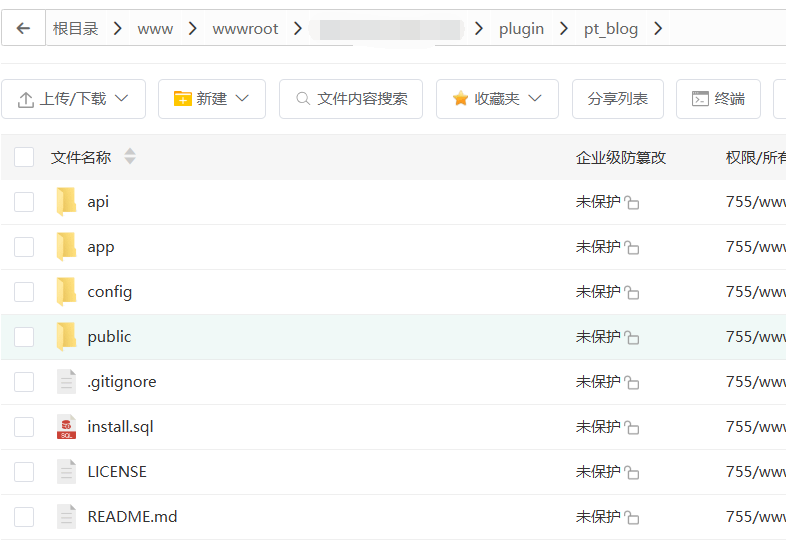
6、安装依赖:composer require psr/container ^1.1.1 webman/blade7、部署到服务器,并启动,具体部署请参照webman官方文档:https://www.workerman.net/doc/webman/bt-install.html8、启动安装webman后台,访问:http://127.0.0.1:8787/app/admin 配置后台数据库并安装9、webman-admin成功启动后,安装blog插件,在项目根目录运行:php webman app-plugin:install pt_blog 返回Install App Plugin pt_blog表示安装成功10、再次刷新webman-amdin后台,就可以看到[PT博客]菜单栏目//11、配置路由 在webman项目的config/route.php,配置成功重启webman,访问博客首页即可访问http://127.0.0.1
<?php
use Webman\Route;
Route::any('/', [\plugin\pt_blog\app\controller\IndexController::class, 'index'])->name("PtBlog.index");
Route::any('/categories/{id:\d+}', [\plugin\pt_blog\app\controller\IndexController::class, 'categories'])->name("PtBlog.categories");
Route::any('/articles/{id:\d+}', [\plugin\pt_blog\app\controller\IndexController::class, 'articles'])->name("PtBlog.articles");
Route::any('/projects', [\plugin\pt_blog\app\controller\ProjectController::class, 'index'])->name("PtBlog.projects");
Route::any('/sites', [\plugin\pt_blog\app\controller\SiteController::class, 'index'])->name("PtBlog.sites");
Route::any('/me', [\plugin\pt_blog\app\controller\MeController::class, 'index'])->name("PtBlog.me");
12、大功告成